Use the following steps to run a selected report.
Click Here to access a short step-by-step video about this subject.
The instructions below take place after you have located the report you want to run. Use the following steps to run a selected report.
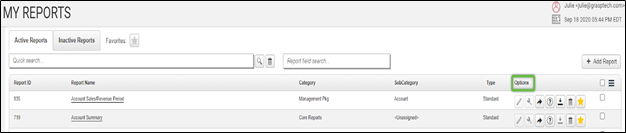
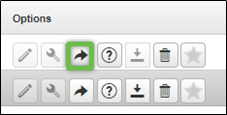
After finding the report you want to run, on the My Reports tab, under the Options column, click on the arrow to open the Run Report window.
The Run Report window will open, which contains multiple tabs.

Options tab:
You will need to either select ALL or a specific Corporation in the Corporation field. The Start and End Dates will auto-populate with the last full calendar month, but can be changed as needed. All fields are listed below.
- Report ID and Report Type
- Original Report Name
- Runtime Report Name (Can customize. This will be what shows on the report header.)
- Corporation (If a profile is created in Settings for the Corporation, can select it here.)
- Date Field (Use the drop down to select desired option. Issued Date is default.)
- Start Date
- End Date
- Export Type (PDF, Excel, Excel Data Only are the most common)
- Currency (Add On Feature) Select Currency Type if necessary.
- Show Filter Criteria (Will show report filter options and Report Descriptions as page 1, a Cover Page, of the report if select ‘Yes’)
Filters tab:
The filters tab provides the ability to run a report and filter to only see certain data, or remove certain data. With 5 Data Filters this allows for a wide variety of filtering possibilities.
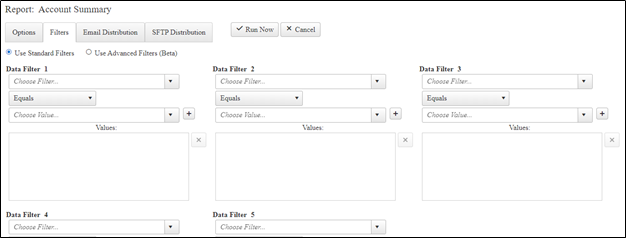
Depending on the filter selected, some filters will allow the selection of multiple values where some may only allow one value.
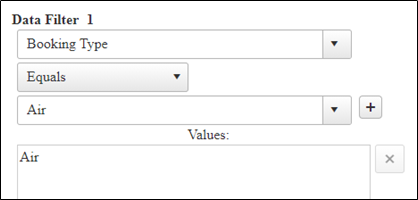
For example, the filter Booking Type allows you to choose more than one filtering option. So, if you are running a report that shows air, car, hotel and more, you can filter it to ONLY show air by choosing Air in the drop down. Always be sure to click on the plus sign (+) on the right side to lock your selection in.
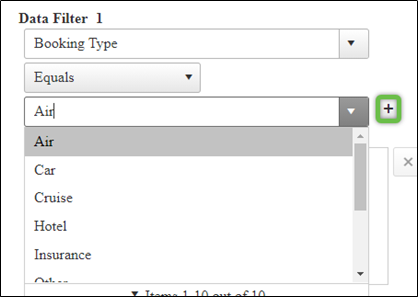
You will see your selection in the Values box after clicking on the plus sign. Again, you can choose more than one option if you see the plus sign, you’ll need to click on the plus sign to lock in each selection.
Some filters only allow for one option, such as Segment Arrive/Depart City. In the example below, you can only select one city in the drop down.
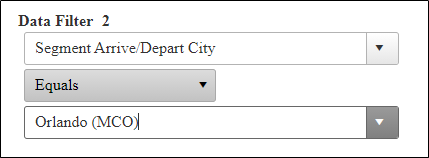
When using multiple Data Filters, the report will only return data that is contained in the combination of Data Filters selected. Example: If in Data Filter 1 you have chosen Booking Type = Air, and in Data Filter 2 you have chosen Segment Arrive/Depart City = Orlando, your report will only return air bookings where the traveler went to/from Orlando.
You can also change the drop down of Equals to other options if you would like the filter to exclude certain items, be Greater Than Or Equal to, etc.
Email Distribution tab:
Emailing a report from the Run Reports tab is an option. Please click here to be taken to the page with additional information about Emailing Reports.
SFTP Distribution tab:
SFTP, or FTP, Distribution is an add-on product. Please reach out to support@grasptech.com for more information.
Run Now
Once you have the completed the fields and filters(if applicable), click on the Run Now button to run your report.

Report History:
After clicking on Run Now, you will be automatically taken to the Report History page. You can also get to this page from the Menu > Reports > Report History.

From Report History you can view, rerun, email reports and more. Please click here for more information about Report History.