The following provides information for Scheduling and Distribution of report batches.
Once a batch has been created you have the option to schedule it to run and email, if desired, automatically. Click Here to access a short step-by-step video about this subject.
- Go to Reports > Schedules from the left Menu.
- Find the batch you want to schedule and under the Options section, click the Scheduling (wrench) icon.

- The Scheduling window will open giving you the ability to set up when the batch will auto run.
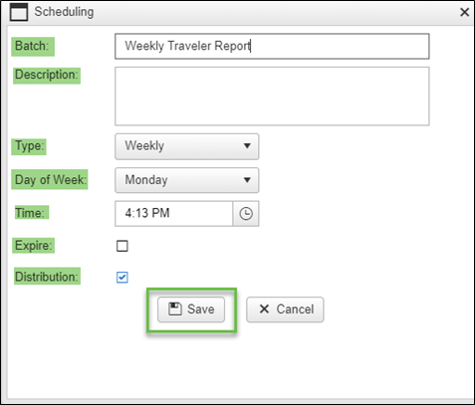
Batch: Will auto-fill with the batch name.
Description: Add a description if desired.
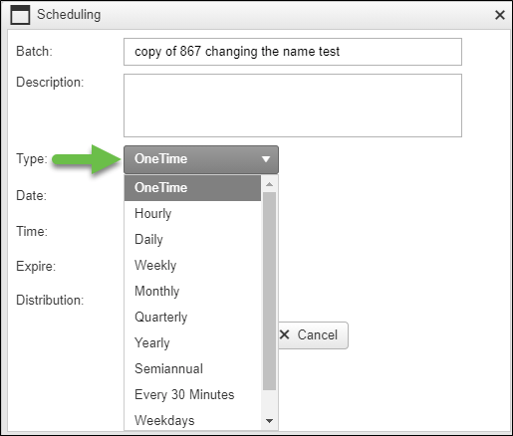
Type: Use the dropdown list to select how often the batch should run. Based on the selection, additional fields may open allowing you to choose the day, date, time, etc. that you want your batch to run. Note: Time is always Eastern Time, so please select the time you want your batch to run accordingly.
- One Time: This will just run your batch once on the date and time selected
- Hourly: This will run your batch every hour at the top of the hour
- Daily: Shows the time field to select what time each day the batch will run
- Weekly: Shows the Day of Week and Time fields to select when batch will run
- Monthly: Shows Day of Month and Time fields to select when batch will run
- Quarterly: Shows Fiscal Start, Day of Month and Time fields to select when batch will run
- Yearly: Shows Date and Time fields to select when batch will run
- Semiannual: Shows Date and Time fields, batch will run twice a year 6 months apart
- Every 30 Minutes: This will run your batch every 30 minutes starting at the top of the hour
- Weekdays: Will show the Time field and run the batch at that time Monday through Friday
- Every Two Weeks: Will show Day of Week and Time fields to select when your batch will run every other week
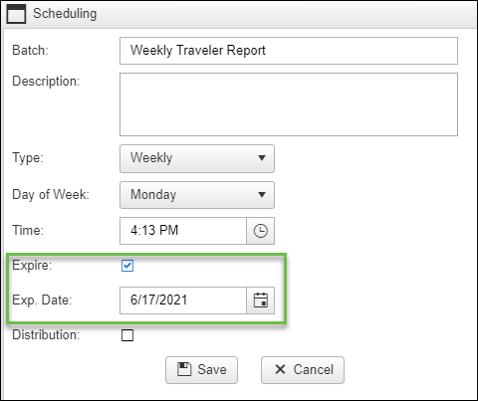
Expire: Click this check box when you have a batch that you no longer wish to run, or when creating a batch that will have a specific date when you would like it to stop running. This option allows a batch to set to stop running, but it will not delete the batch, so you can use the batch again in the future. Check the box, then select the expiration date.
Distribution:
- If this box is unchecked, the batch will run, and reports will be in your Report History.
- The Distribution box is checked by default. If this box is checked, after clicking ‘Save’, the Distribution window will open to set up email options, and the batch will email to the contacts selected. Be sure to click on the ‘Save’ button once the email information has been added. Click here to access our emailing reports page which covers the steps for adding recipients, choosing if the report should be an attachment or weblink, and options information.
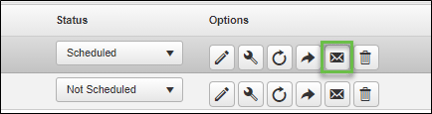
Change Distribution: If a change is needed to the distribution of the batch, go to Reports > Schedules, from the left Menu. Find the batch and click the Distribution (envelope) icon to open the Distribution window and make your changes.