This document provides the steps and best practices when running our Grasp Interactive Arrival Departure Report.
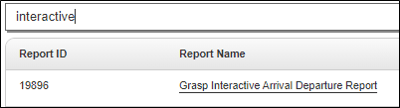
This document will advise the best practices when running our Grasp Interactive Arrival Departure Report. For our customers on our main server, this is report #19896. If you are on a dedicated server, it may be a different report #, but the report name will remain the same.
NOTE: If you see a Blocked Content message when opening the report, please click here for our page with the steps to resolve. Microsoft recently decided to block Macros by default.
This is a true interactive report, and the filtering is done after the report runs and you have enabled the content. You then will be able to filter as many ways as you would like by account, vendor, city, state, country, agent and more.
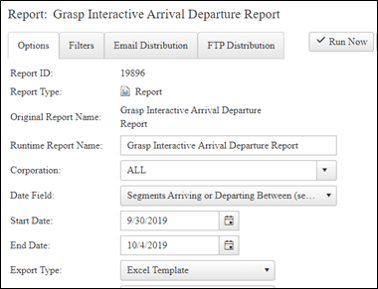
When using this report as a crisis or arrival departure report, on the Options tab, it is recommended to use one of the 2 filter options below. PLEASE NOTE: You will NOT need to fill in any data on the Filters tab as the report is coded to do filtering within the report itself, so no selections on the Filters tab will pass through into the report.
Segment Arriving or Departing Between (segments only) - this filter will return air detail for flights within the Start and End Dates listed. You can choose Corporation ALL to see all accounts, however you may want to choose a specific Corporation if you have a large database.
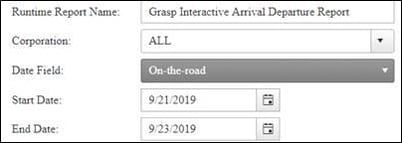
On-the-road – this will give you any traveler who is on the road during the dates you have in your Date Fields. They could have departed prior to the start date and/or are returning after the End Date, but they are somewhere on their trip during those dates.
The filters selected on the Options tab will affect the arrival/departure tabs ONLY. The Car and Hotel tabs are hard coded to always use On-the-road filters. This is the only way to get car and hotel data included in the report.
Again, there is no need to use any filters on the Filters tab, as no filters put onto this page will pass through onto the report itself. The filtering will be done in the report itself once you have enabled the content.
![]()
The Arrival/Departure tab shows all air data on one page and gives the ability to send the results to a printable spreadsheet. You can also easily filter and save the document, then go back to your Report History and open the report again, filter it a new way and save.
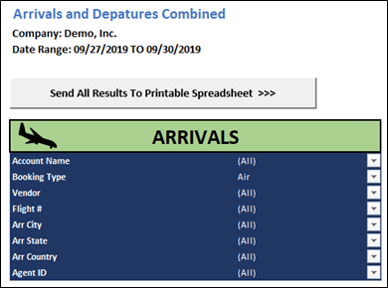
Click the drop down arrow in the gray boxes on the right side of the filter and select any combination of options. You can filter to only show (checking those boxes) or exclude (uncheck those boxes) certain accounts, booking types, vendors, flight #’s, cities, states, countries or Agent ID’s.
On the Arrival and Departures tab you’ll want to filter in both the Arrivals and Departures filters to narrow down results. If you would like to send your results to a printable spreadsheet, click on the gray box 'Send All Results To Printable Spreadsheet' and a new, print friendly tab will open.
You can filter each tab individually. The arrival and departure tabs will reflect the Date Field you used when running the report. The Car and Hotel tabs are hard coded to use the On-The-Road as a filter, so they will show if any traveler has a car or hotel within the dates you selected when running the report.