The ability to Manually Import data into GraspDATA is an add-on product. The steps below apply if you have purchased Manual Import. If you do not have this option and are interested in more details, please email support@grasptech.com.
Import the file
- Log into GraspDATA (admin login)
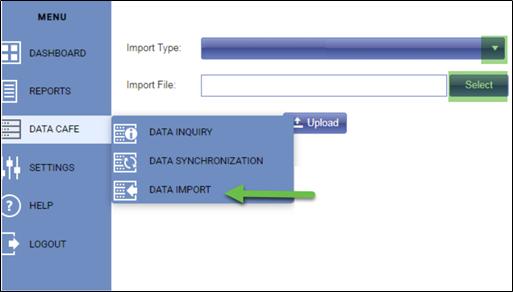
- Go to DATA CAFE, on the left Menu, and click on DATA IMPORT
- Select the Import Type
- Select the file to import from the location where it is saved in your computer
- Click Upload
Data Synchronization
(Not all manual import requires a manual sync. DATA SYNCHRONIZATION will not display under DATA CAFE if your set-up does not require it.)
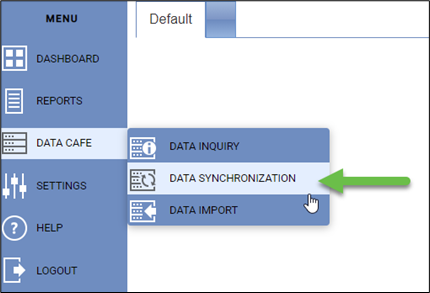
- Go to DATA CAFE, on the left Menu, and click on DATA Synchronization
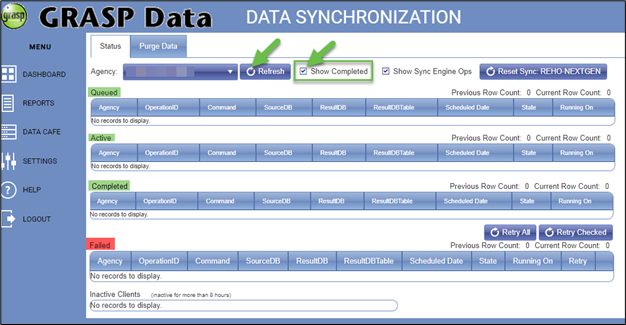
- Click the Show Completed box and then click refresh. Keep refreshing to verify that items are moving between Queued, Active, and Completed. Everything should end up in Completed.
-
- If items appear under ‘Failed’, you will need to review your file for errors, update and save the file, and then upload it again.
Verify Data
- Once the synchronization has successfully completed, there will be no items showing under Queued, Active, or Failed.
- Verify the data by selecting DATA CAFE > DATA INQUIRY from the left menu and search for the data that was uploaded. You can also run a report that would include the data that was uploaded.