This information includes how to expire or delete a scheduled batch.
If there is a batch, or batches, that you no longer want to run automatically, but you want to keep the batch, you have an option to expire the batch. Expiring the batch keeps the batch, but stops it from running. You can also delete a batch if it is no longer needed and will not be needed in the future. Click Here to access a short step-by-step video about this subject.
Click the links below for the steps to Expire or Delete a scheduled batch.
To expire a batch:
- Go to Reports > Schedules from the left Menu.
- Find the batch you want to expire.
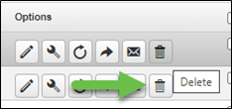
- Under the Options column, click the Scheduling icon (wrench).

This will open the Scheduling window.
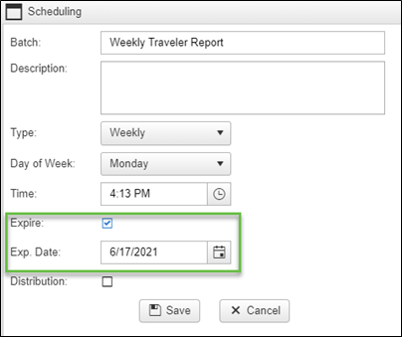
- Click the ‘Expire’ box.
- The ‘Exp. Date’ field will auto fill today's date. You can leave as is, or select a future date you don’t want the batch to run after.
- Click Save. That batch will no longer run after that date.
To delete a batch:
- On the Reports Schedules page, under the Options column, click the Delete icon (trash can).
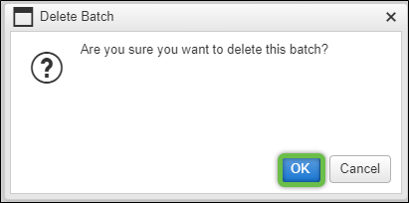
- This will open the Delete Batch pop-up window asking if you are sure you want to delete this batch. Click on OK to delete the batch completely. Note: Once the batch is deleted it cannot be recovered. It will need to be re-created from scratch if needed again.